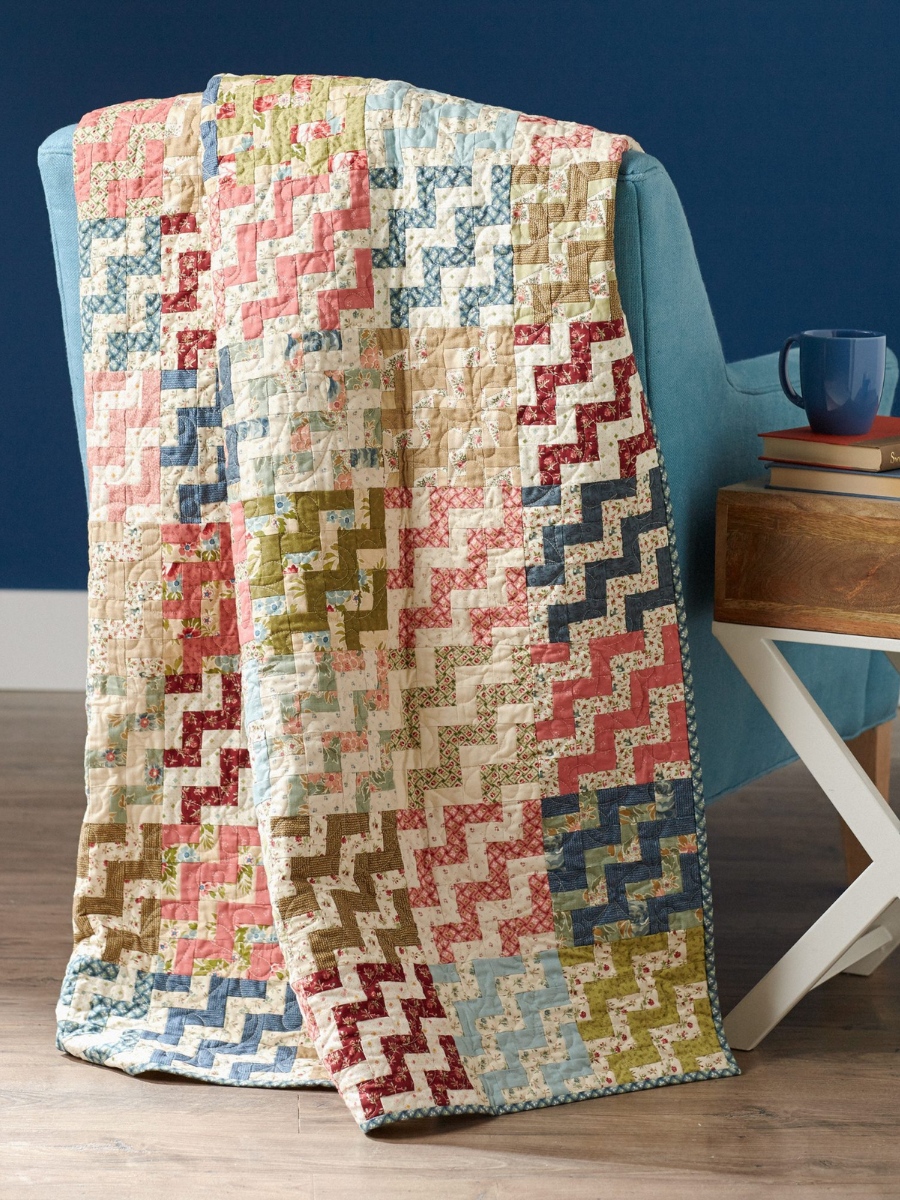
How To Make A Quilt Step By Step
Quilting is a fun and practical way to pass time. You can be as creative as you like, and you will finish with a blanket to keep you warm at night and pass down to your children or grandchildren. Use these steps to learn how to make a basic quilt, and then show off your handiwork to all your friends and family!
1. Cut the main fabric
Cut the main fabric 62" x 29"
2. Cut contrast fabric
Cut five strips of contrast fabrics measuring the following:
- 1 piece 34" x 20"
- 1 piece 34" x 8"
- 1 piece 34" x 16"
- 1 piece 34" x 10"
- 1 piece 34" x 8"
3. Sew the contrast fabric
Using your sewing machine, sew the contrast fabric strips together with ¼" seam allowance.
4. Iron your fabric
Place the sewn fabric strips on the ironing board with the wrong side of the fabric facing you. Press each of the seams towards the darker fabric.
5. Pin and sew the main fabric
Pin the contrast fabric strips to the main fabric and sew.
6. Trim the batting
Use shears to cut thick batting at least 2" larger than the quilt top
7. Sew the quilt backing
Cut two lengths of backing fabric to 62" in length. Sew the two pieces together to give you a backing that is big enough for the entire quilt.
8. Cut the backing to size
With the seam in the center, trim the backing fabric at least 2" larger than the quilt top using either your rotary cutter or scissors.
9. Assemble the quilt
Pin the quilt top, batting and backing fabric together, or use quilt adhesive to secure all layers.
10. Quilt
Quilt as desired. I measured and marked three lines 1" apart every 4" using a heat erase marking pen, as a guide for quilting. The pen lines are erased with the iron.
11. Cut binding strips
Use the rotary cutter and acrylic ruler to cut seven 2½" wide strips
12. Sew the binding strips
Sew the strips together. Check that they are long enough to go around the entire perimeter of the quilt. Place two strips together with the right sides facing each other. The strips should be perpendicular to each other. Sew across the diagonal. Trim the excess by ¼".
13. Press the binding strips
Using your iron, press the entire length of binding in half.
14. Sew the binding to the quilt
Place the binding against the edge of the quilt. The raw edge of the binding should align with the raw edge of the quilt. Sew the binding to the right side of the quilt, a ¼" away from the edge. Leave a 3" tail at the beginning.
15. Sew around the corners
When you come to a corner, sew in a straight line until you are about ¼" away from the end. Pivot the quilt so that you finish stitching at a 45 degree angle to your seam. Remove the quilt from the machine and fold over the binding. Begin sewing again from the top of the new edge.
Finish the quilt
Handmade quilt takes lot of time and work. Therefore, you can choose to buy our handmade quilt blankets and quilt bed sets. They have nice design, premium quality and reasonable price!
Some of our best sellers:
Buy here: https://charmingtribe.com/collections/quilt-blanket/products/cla2810084q
Buy here: https://charmingtribe.com/collections/quilt-blanket/products/cl1406108
Buy here: https://charmingtribe.com/collections/quilt-blanket/products/clp270662
Buy here: https://charmingtribe.com/collections/quilt-blanket/products/cla0710314q
Buy here: https://charmingtribe.com/collections/quilt-bed-set/products/hn240904t
Buy here: https://charmingtribe.com/collections/quilt-bed-set/products/tl070908m
Buy here: https://charmingtribe.com/collections/quilt-bed-set/products/ht240903
Buy here: https://charmingtribe.com/collections/quilt-bed-set/products/tl070909m


